Add a project
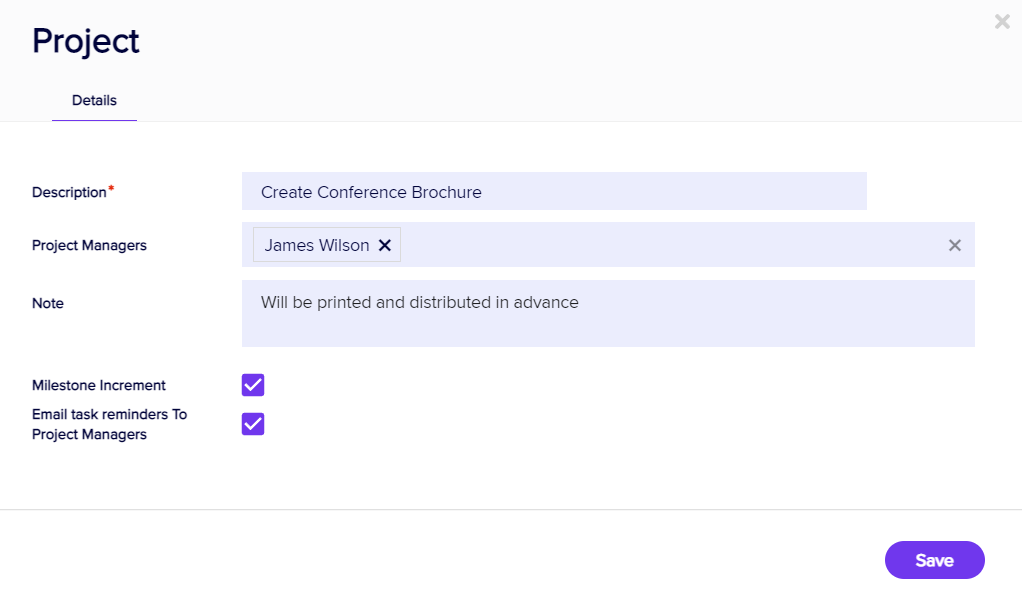
After you've added a new project, your options include:
- Description
- Project Managers - choose one or more managers for this project.
- Note - a free-form text field to record any required details about this project.
- Milestone Increment - select to display a milestone marker.
- Email Task Reminders to Project Managers - automatically generate helpful reminder emails to Project Managers about task due dates in this project.
Adding new tasks

Selecting Add Task lets you add new Tasks to your Project. Your options include:
- Description
- Team Members - select from a drop down list.
- Status - lets you set the beginning status.
- Start Date/Time
- Due Date/Time
- Percent Completed
- Note
- Milestone Increment - select to display a milestone marker.
Import
This option lets you enter your project details in an Excel Spreadsheet and import your project directly into EventsAir. There's a wizard to help you match your data fields to the corresponding fields in the Project Manager.
Important Considerations
- You must create your Projects prior to import, and you will select the specific Project that you will be importing details into.
- You must select a Date Format that matches the date format used in your projects, and use this in your import details as well.
- While Start Date/Time and End Date/Time are shown together in the Project List, they are imported via their own separate columns.
- You will assign team members, status, and progress items after the import is complete.
What You Can Import
There are six types of data you can import into a specific project:
- Name - the task name
- Note - the project task note
- Start Date - use mm/dd/year or dd/mm/year format as required by your region
- Start Time - use military (24 hour) time format
- Due Date - use mm/dd/year or dd/mm/year format as required by your region
- Due Time - use military (24 hour) time format
Importing Data
When you click on Import, you should follow these steps:
- Select your import data file (Excel format).
- Select the Project category that you plan to import into.
- Select the Date Format for your region (and reflected in your spreadsheet).
- Assign each column from your spreadsheet to the corresponding field in the Project list.
- Select Import to complete the import process.
Export
This option will let you export your detailed project list to Excel, maintaining the same general format.
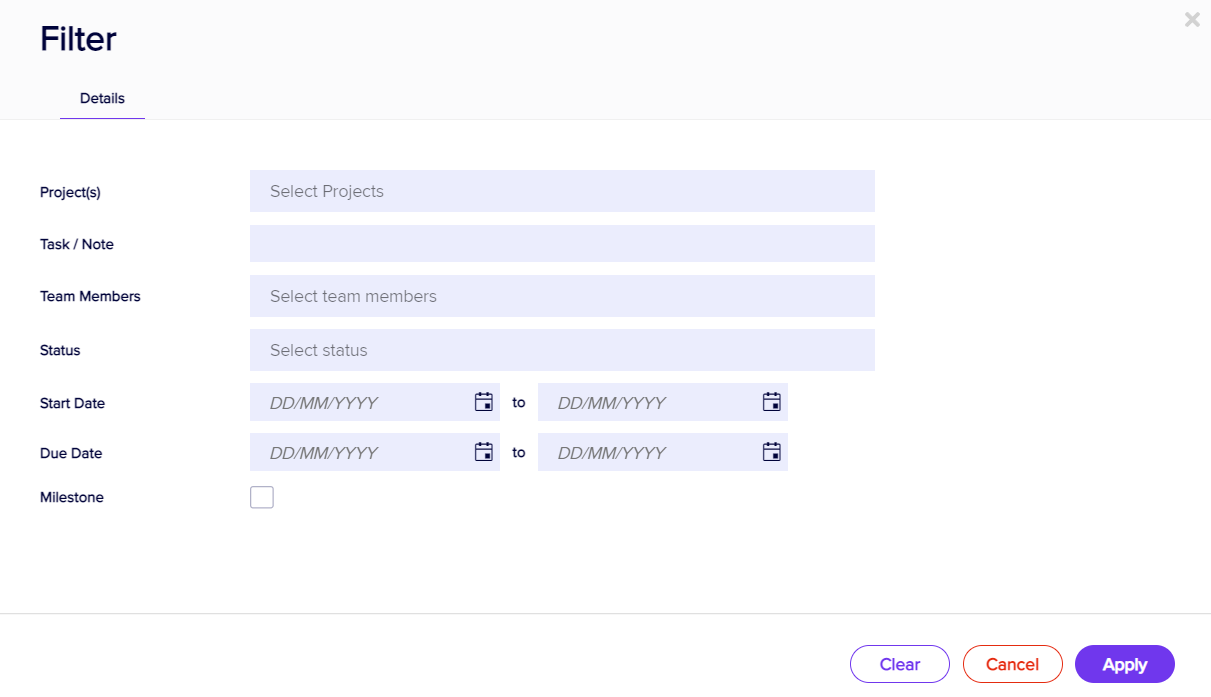
Filter
Selecting the Filter Option lets you filter your Project Manager view to see specific items, such as:
- Projects
- Tasks/Notes
- Team Members
- Status
- Start Dates/Times
- Due Date/Times
- Milestones
Any custom fields you may have created for the Project Manager can also be filtered on.
Promote/Demote a Task
This option lets you select a specific task and either demote it or promote it, in relation to the task before it.
- Demoting a task will make it a sub-task of the task before it.
- Promoting a task will move a demoted task back to its main level.
Re-assign team members & task dates
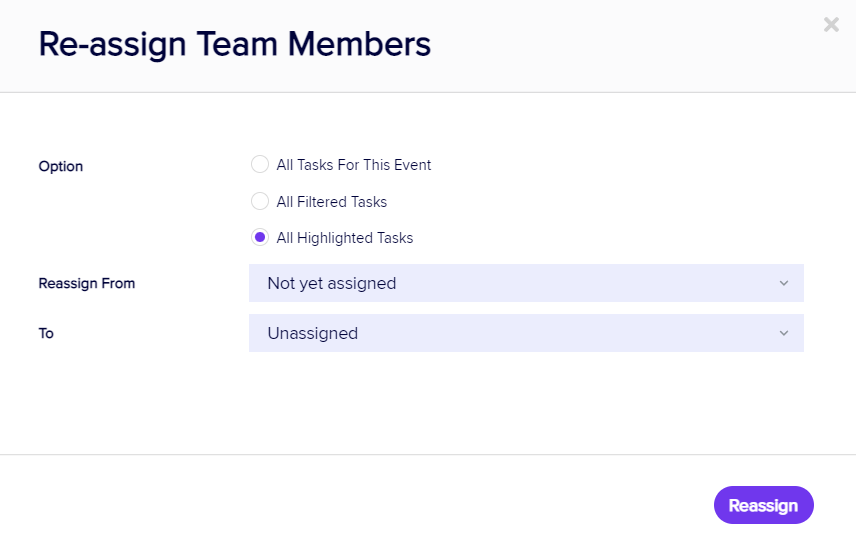
Selecting Re-Assign Team Members lets you assign or re-assign tasks to Team Members. You can choose from:
- All Tasks for This Event
- All Filtered Tasks
- All Highlighted Tasks
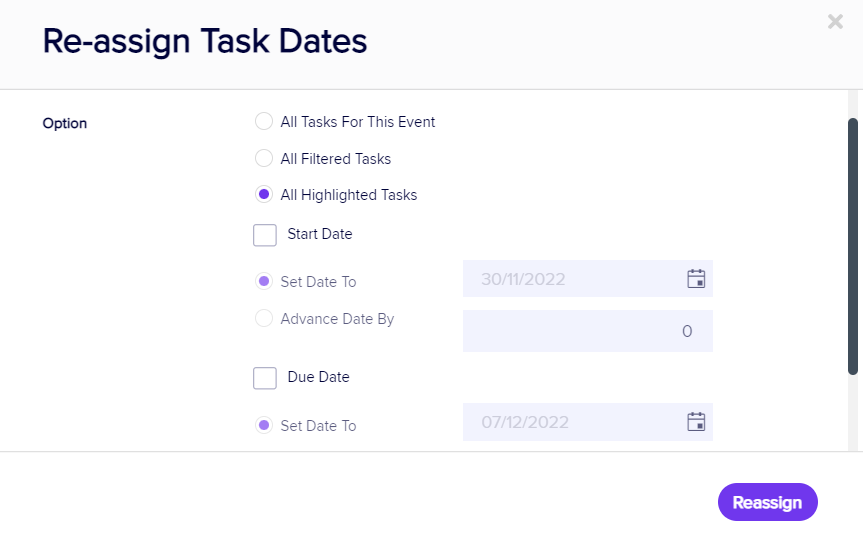
Like Re-Assigning Team Members, Re-Assign Task Dates lets you choose tasks and either change the Start Date, Due Date, or incrementally advance either date by a specific number of days.
You can choose from:
- All Tasks for This Event
- All Filtered Tasks
- All Highlighted Tasks